Popcorn Ceiling Removal: Get a Modern, Smooth Finish with No Dust Mess
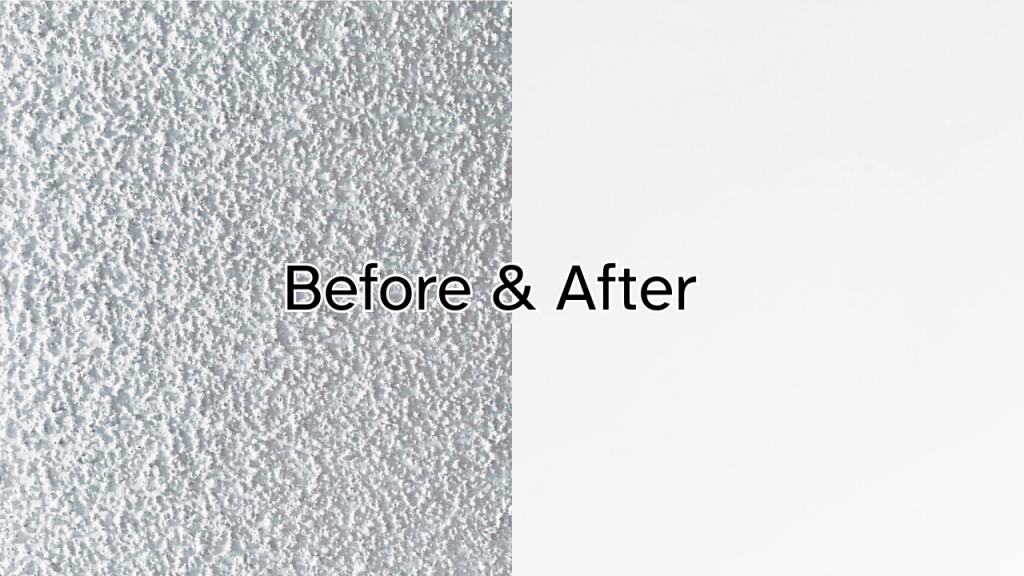
Popcorn ceilings were once a popular design choice, but today, they make homes look outdated and can collect dust over time. Removing them not only modernizes your space but also creates a smooth, clean surface for a sleek finish. Best of all, with the right method, you can remove popcorn ceilings dust-free and achieve a flat, flawless look—perfect for adding pot lights and enhancing your home’s aesthetics.
Why Remove Popcorn Ceilings?
Outdated Appearance – Popcorn ceilings can make a home feel old-fashioned and less appealing.
Dust & Allergens – The textured surface traps dust, making it harder to clean.
Better Lighting Options – A flat ceiling allows for recessed pot lights, which provide a modern and elegant ambiance.
Increased Home Value – A smooth, updated ceiling can make your home more attractive to buyers.
How to Remove Popcorn Ceilings Without the Dust
Traditional popcorn ceiling removal can be messy, leaving behind dust and debris. However, a controlled method can minimize dust and create a clean work environment.
Step 1: Prepping the Room
Remove furniture or cover it with plastic sheeting.
Protect floors with drop cloths or plastic wrap.
Seal vents and doorways to prevent dust from spreading.
Step 2: Wetting the Ceiling (Dust-Free Method)
Using a low-pressure sprayer, lightly mist the ceiling with water to loosen the texture.
Allow the water to soak in for about 15 minutes.
Avoid over-saturating to prevent damage to the drywall underneath.
Step 3: Scraping the Texture Off
Use a wide drywall knife or a specialized popcorn ceiling scraper.
Gently scrape in a steady motion to remove the softened texture.
Work in small sections to keep the process controlled and mess-free.
Step 4: Smoothing the Surface
After scraping, inspect the ceiling for any imperfections.
Apply a thin coat of drywall compound (skim coat) to even out rough patches.
Sand lightly for a perfectly smooth finish.
Finishing Touches: A Modern, Clean Look
Once the ceiling is flat and smooth, you can enhance its appearance:
Prime and Paint: Use a high-quality ceiling paint for a crisp, modern look.
Add Pot Lights: Recessed lighting is a great way to brighten your space with a contemporary touch.
Install Molding (Optional): Crown molding adds an extra level of sophistication.
Upgrade Your Home with a Fresh Ceiling
A dust-free popcorn ceiling removal process is the best way to modernize your home with minimal disruption. Whether you’re preparing for a home renovation or simply want a cleaner, sleeker look, removing outdated popcorn ceilings is a smart investment.
Ready to upgrade your ceiling? Contact us today for professional, dust-free popcorn ceiling removal and a flawless new finish!
The Ultimate Guide to Home Painting: Tips for a Flawless Finish

A fresh coat of paint can transform your home, making it feel brand new while adding value and personality. Whether you’re painting a single room or the entire house, getting professional-looking results requires the right approach. Here’s your ultimate guide to achieving a flawless finish when painting your home.
1. Preparation is Key
Before you even open a paint can, proper preparation is essential.
Clear and Cover: Remove furniture from the room or cover it with plastic sheets. Protect floors with drop cloths.
Clean the Walls: Dust and grime can prevent paint from adhering properly. Wash walls with a mild detergent and allow them to dry completely.
Repair Imperfections: Fill holes and cracks with spackling paste, sand smooth, and prime the repaired areas.
Tape Off Areas: Use painter’s tape to protect trims, baseboards, and ceilings for clean, crisp lines.
2. Choose the Right Paint and Tools
Selecting the right type of paint and tools can make a big difference in the final result.
Paint Type: Choose latex-based paint for walls (easy to clean and quick drying) and oil-based for trim (durable and smooth finish).
Finish Matters: Matte finishes hide imperfections, while satin or semi-gloss finishes are great for high-traffic areas.
Use Quality Brushes and Rollers: A high-quality brush and roller will provide smoother coverage and prevent streaks.
3. Master the Painting Process
Once you’ve prepared your space and gathered your tools, it’s time to start painting.
Cut In First: Use a brush to paint edges and corners before using a roller for larger areas.
Roll with a ‘W’ Pattern: Start in one corner and roll in a ‘W’ or ‘M’ pattern for even coverage.
Apply Multiple Coats: One coat may not be enough, especially for bold color changes. Allow each coat to dry completely before applying the next.
Ventilation is Key: Open windows and use fans to speed up drying and reduce paint fumes.
4. Finishing Touches
Once the paint has dried, remove painter’s tape carefully and make any necessary touch-ups.
Inspect for Missed Spots: Check the walls in different lighting conditions to catch any imperfections.
Reattach Fixtures: Once the paint is completely dry, reinstall switch plates, outlet covers, and any removed fixtures.
Enjoy Your New Space! Stand back and admire your freshly painted walls.
Painting your home doesn’t have to be overwhelming. With the right preparation and techniques, you can achieve professional results that enhance your space. Stay tuned for our next blog on drywall repair to help you fix any imperfections before your next painting project!